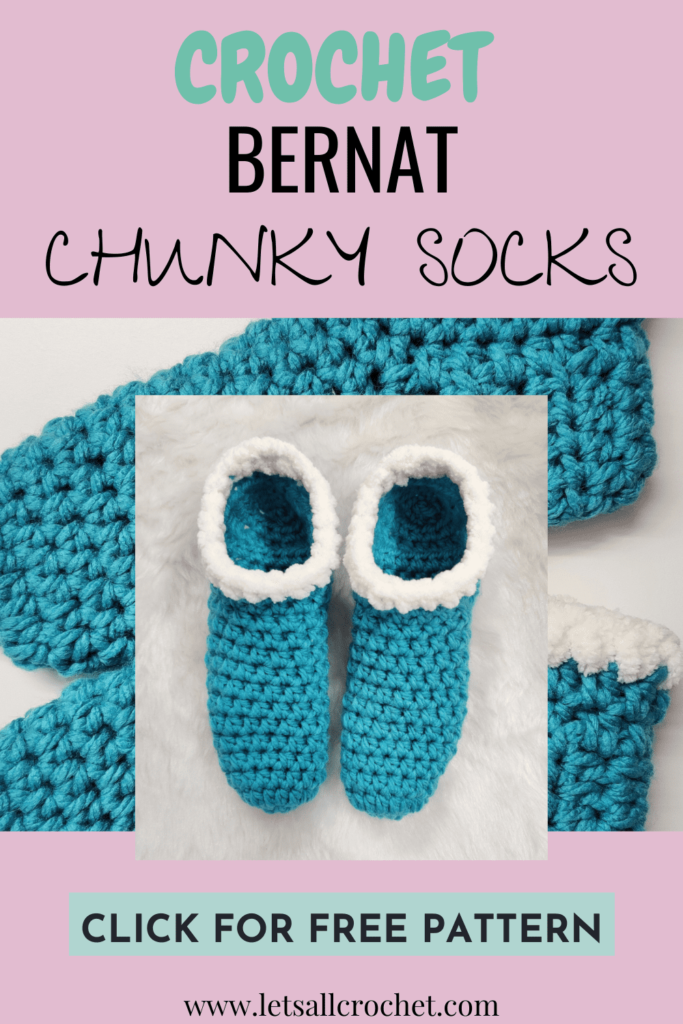
Crochet Bernat Softee Chunky Socks
Pattern and Tutorial
Last updated on September 4th, 2025
These socks are very easy and work up super quick. They are ideal for keeping your feet warm and cosy with these slipper socks. Make one in all colors to match all your outfits.

This post contains affiliate links, which means if you make a purchase from the links below, I will get a small percentage of the sales at no additional cost to you. Thank you for your continued support!
Inspiration:
Hey everybody! My old pair of socks were super worn out. I wanted a new warm and comfy pair of socks to walk around at home mostly or just wear to keep feet warm while reading a book with my hot chocolate on the couch. So I was looking through all the soft yarns I had in my stash. When I saw this shade of Bernat Softee Chunky I knew I had a winner! Not only would my socks be super soft and comfy, but I would be able to crochet them in a day and they would be ready to wear (which is exactly what happened :D)
I hope you enjoy making and wearing this as much as me!
Construction
These are beginner friendly socks. They are the perfect first project. We will use easy stitches and they work up quick. These slippers are worked from toe up till the heel, last we will work a bit of the ankle. They are very easy and the size can easily be adjusted for your foot. We will start with a ch 2.
Yarn details
Any super chunky or super bulky weight or weight 6 yarn can be used to crochet these slippers. Feel free to adjust the size of the hook to match gauge if you want. I have used an acrylic yarn, Bernat Softee Chunky yarn which is cozy and soft.
Stitch details:
Very beginner friendly pattern for ankle socks. We will use basic stitches like single crochet, half double crochet. If you are a beginner this will be a fun project with a supportive YouTube tutorial to help every step of the way! Learn how to change colors as well!

You can purchase the AD FREE pattern. It is available in the form of a downloadable, low cost PDF (less than a coffee) in my shops. Click your favorite place to shop patterns. Print and crochet at your convenience. Give yourself this gift! You deserve this!!
Skill: Easy, beginner friendly.
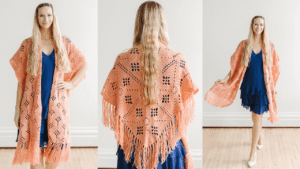
Similar patterns you may enjoy: Teddy Bear Lounging Shrug
Skill: Easy, beginner friendly.
Finished sizes: One size fits all.
Foot circumference is measured around the ball of the foot. Total foot length is from the tip of the longest toe to back of heel.
The socks can be easily sized and customised to fit. For best fit measure your own leg and proceed to make socks.
| US Sizes (inches) | Foot Circumference | Total Foot Length | Sock Circumference | Total Sock Length |
|---|---|---|---|---|
|
5/6- S |
7″ |
8″ |
3″ |
8″ |
|
7/8- M |
8″ |
9″ |
3 1/2″ |
9″ |
|
9/10-L |
9″ |
10″ |
4″ |
10″ |
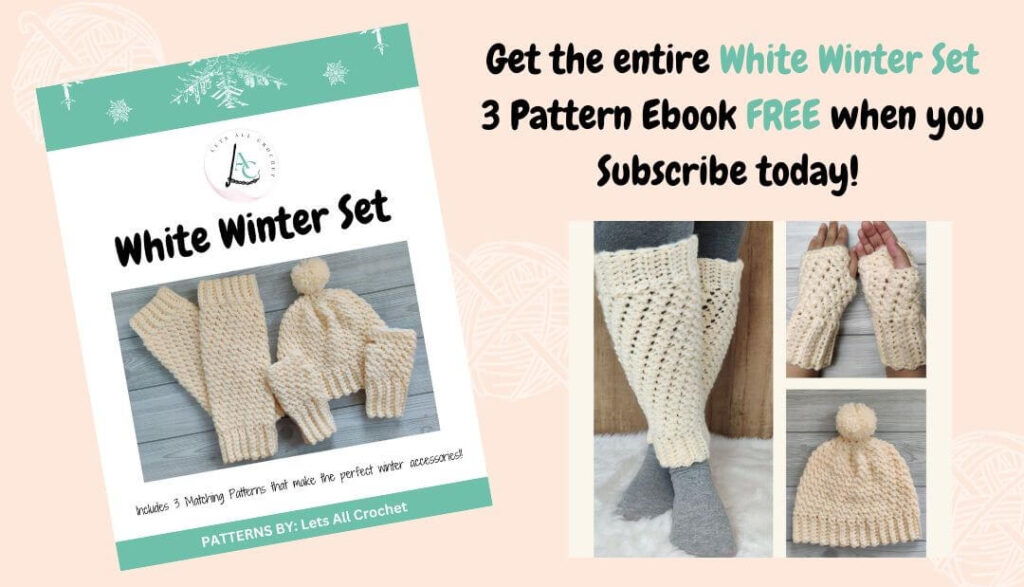
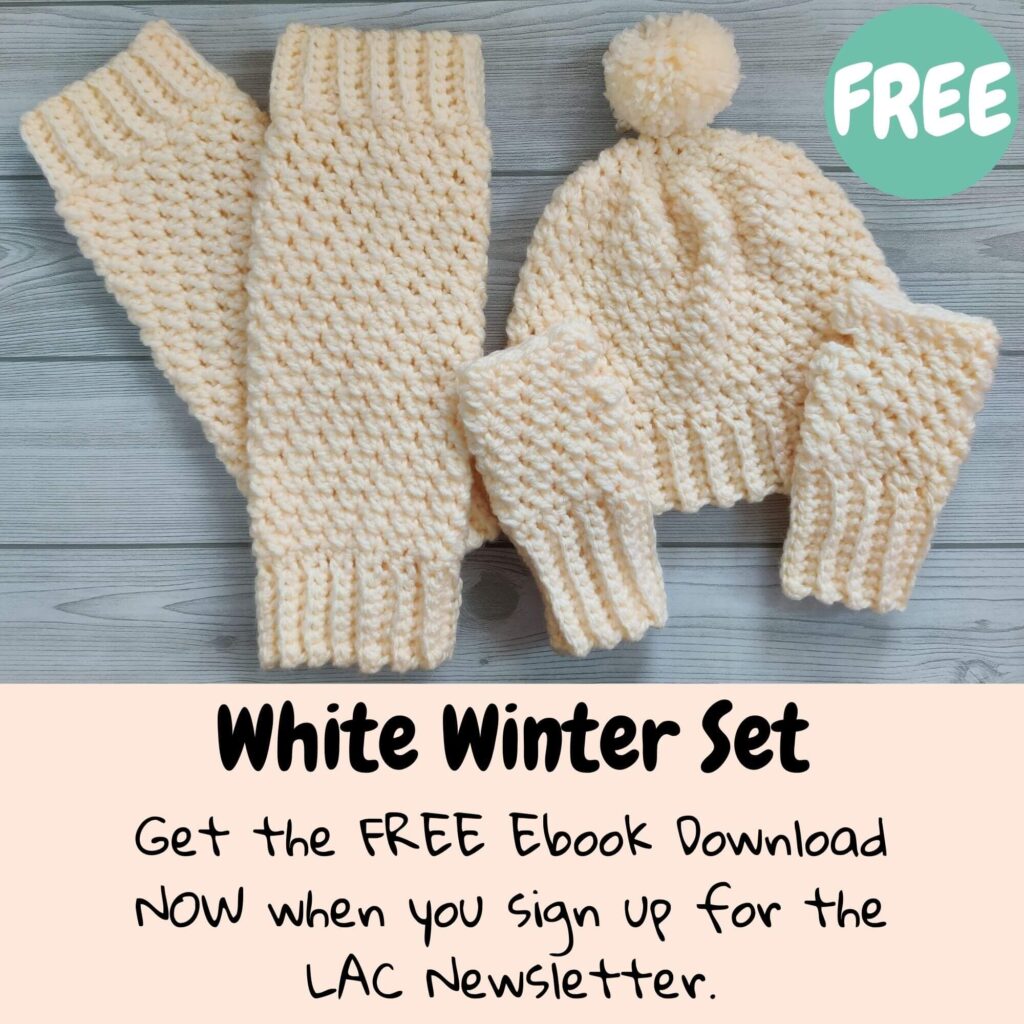
Join the Lets All Crochet Newsletter AND get the White Winter Set FREE!
Modal Box Title
Material
Material
Yarn:
- Any weight 6/ super chunky/ super bulky weight yarn can be used.
I have used Bernat Softee Chunky. It is a 100% acrylic yarn.
Color or shade- 28806/ light jade.
Yardage: 100 g has 99 m/ 108 yards.
Amount needed: 1 skein or 100 g.
- Any blanket or chenille yarn. Less than 50 g will be needed.
I have used Bernat Baby Blanket yarn. Shade white: 03005.
Crochet Hook: 7 mm size. I have used a smaller size than recommended for tighter stitches.
Notions: tapestry needle, stitch markers, measuring tape, scissors.
Gauge: It can be matched by changing hook sizes.
In 4” by 4” or 10 cm by 10 cm swatch of hdc rows: 10 hdc and 7 rows
Notes
- Pattern is worked from toe up to heel, ankle is worked last.
- Pattern is worked in rounds till heel. Heel is worked back and forth in rows. Ankle is worked in rounds.
- Ch 1 does not count as a stitch.
- While weaving in ends do so carefully as this may lead to loss of elasticity if done too tight or over large area.
- Socks are stretchy and fit best when ½ – 1” less than actual foot measurements.
- The sizing is based on foot circumference and foot length. Match the foot circumference and length in chart and alter your size as needed. Instructions for adjusting size have been given.
- If you modify, take notes along the way so you can make the 2nd sock exactly the same as 1st.
Special stitches
Please refer to YouTube video for demonstration of all techniques and step by step tutorial.
Color change: Change colors in slip stitch at end of round.
Step 1: Insert hook into 1st hdc of round,
Step 2: drop the current yarn, catch new yarn on hook,
Step 3: pull through both the stitch and loop on hook.
Tug on all yarns to tighten a bit. This method finishes the stitch in old color and the new stitch will be in the new color.
Abbreviations
- ch= chain
- st= stitch
- hk= hook
- rep= repeat
- RS= right side, WS= wrong side
- Rnd= round
- ”= inches
- slst= slip stitch
- sc= single crochet
- hdc= half double crochet
- MC= main color= bernat softee yarn/ light jade
- CC= contrast color= blanket yarn/ white
You can purchase the AD FREE pattern. It is available in the form of a downloadable, low cost PDF (less than a coffee) in my shops. Click your favorite place to shop patterns. Print and crochet at your convenience. Give yourself this gift! You deserve this!!
Join the Lets All Crochet Newsletter AND get the White Winter Set FREE!
Modal Box Title
Pattern
Foot
Ch 2 with MC
Alteration Note: You can also start with magic ring instead of ch 2. Make 7 (8, 9) hdc in ring, slst to 1st hdc. Continue with rnd 2. (Easy tutorial for magic ring linked on last page of pattern).
Rnd 1: Make 7 (8, 9) hdc in 2nd ch from hk, slst to 1st hdc. 7 (8, 9) hdc
Alteration note: Hdc count in rnd 1 is based on foot circumference, for 7 (8, 9)” or 18 (20, 23) cm we will make 7 (8, 9) hdc in rnd 1 respectively.
Rnd 2: Ch 1, 2 hdc in same hdc, 2 hdc in each hdc around, slst to 1st hdc. 14 (16, 18) hdc
Rnd 3: Ch 1, hdc in same hdc, hdc in each hdc around, slst to 1st hdc. 14 (16, 18) hdc
Rnd 4 to 11 (12, 13): rep rnd 3 for pattern 8 (9, 10) more times.
Alteration note: Repeat rnd 3 till you reach the crease between foot and ankle. Wear and check fit before progressing to leg.
Heel
Add stitch marker to leave a gap at front of ankle
Count backwards from the last stitch of last rnd of foot. Add a stitch marker at the 5th st (skip the last 4 stitches at the end of last round). We will leave a gap at front of ankle while we make heel. Work back and forth in rows from now.
Note: The gap is the same for all sizes. You can leave a gap of 3- 5 stitches, adjust if needed.
Note: If you like you can push the line of slip stitches of the end of each round of foot to the back of the sock. You can cut the yarn and rejoin it so the gap lies opposite the line of slip stitches.
Row 1: Ch 1, hdc in same hdc, hdc in each hdc around till hdc with stitch marker. 10 (12, 14) hdc
Note: End row by hdc in stitch with st marker.
Row 2: Ch 1, turn, hdc in 1st hdc, hdc in each hdc around till last hdc. 10 (12, 14) hdc
Row 3 to 5 (6, 7): rep row 2 for pattern 3 (4, 5) more times.
Alteration note: rep row 2 for pattern till end of heel.
Wear and check fit before moving on to ankle.
Ankle
Join the two sides of the heel together with a slip stitch. Continue making rnds on RS.
Note: We may have to slst from left to right or right to left, depending on which row we have ended. Refer to video tutorial if needed. After the slst continue ankle rounds on RS.
Rnd 1: Ch 1, hdc in same st, hdc in all the hdc around, slst to 1st hdc.
Stitch count does not matter. Just distribute hdc evenly around. Approx. stitch count 19 (21, 23).
Note: Make sure you aren’t working in heel gap (it is small and at the back of sock).
Rnd 2: Ch 1, hdc in same hdc, hdc in all the hdc around, slst to 1st hdc.
Change colors to blanket yarn/ CC in last slip stitch. See special stitches above.
Alteration note: Add more rounds to make sock taller before making the last round in blanket yarn.
Rnd 3: Ch 1, sc in same st, sc in all hdc of previous rnd, slst to 1st sc.
Fasten off and weave in the blanket yarn/ CC.
Leave 12” of MC/ bernat softee yarn and fasten off. We will use this to sew the gap in heel closed.
Closing heel
On WS, flatten the heel opening so the stitches on both sides of opening match/ stitches align. Use the tail left of MC to sew the opening closed. Fasten off and weave in ends.
Make one more slipper sock exactly the same way.
Tip: Add any anti slip agent to the sole of the slippers as crochet slippers tend to slip.
Congratulations! Your chunky socks are now ready!
Timestamps have been marked below video, skip ahead to rows as needed.
Channel name on YouTube: Let’s All Crochet
Copyright & Permissions
All content in this pattern, including instructions, photos, and design, is protected by copyright © Let’s All Crochet.
This pattern is for personal use only. It may not be copied, altered, translated, resold, taught in classes, or redistributed in any form (digital or physical).
You are welcome to sell finished items made from this pattern on a small scale, but please use your own photos when promoting your work. Credit to Let’s All Crochet as the pattern designer is appreciated.
If you’d like to share this pattern, you may share one photo and a direct link to the pattern on letsallcrochet.com. Please do not share or repost the instructions themselves.
This free crochet pattern is provided by Let’s All Crochet for personal use and complies with EU GPSR safety requirements. Read more here
I hope you enjoy todays pattern and tutorial on how to make an easy crochet cowl for beginners. When you make this cowl I would love to see it and share it on my instagram! Please tag me on instagram @letsallcrochetwithakita!
Want to be a crochet designer?
Check out the how to write a crochet pattern ebook here- https://letsallcrochet.com/write-freebie/
Check out my YouTube Channel for Designers Here: Crochet Designing With Akita
Thank you for reading my pattern right here on the blog, When you stay and read the pattern on here, I am compensated for my time and energy. This is a great free way to support me so I can keep designing more.
If you would like to save this for later, press CTRL + D to bookmark the page or click the heart/star on your mobile browser.
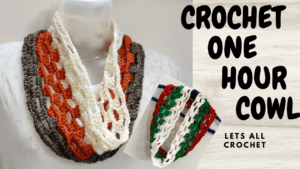
Fall Cowl – Easy Crochet Cowl Pattern for Beginners
A quick and cozy beginner crochet cowl you can finish in about an hour. This easy fall cowl pattern is simple, customizable, and perfect for gifts, stash-busting, or everyday wear.
My Crochet Pattern Was Featured in I Like Crochet Magazine (February 2026)
One of my crochet patterns was featured in the February 2026 issue of I Like Crochet Magazine. In this post, I’m sharing a little about the design, the inspiration behind it, and what this milestone means to me as a...
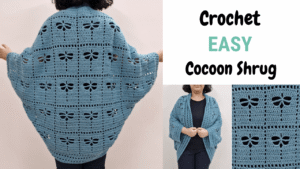
Dragonfly Garden Shrug
The Dragonfly Garden Shrug is a light and airy crochet cocoon cardigan made from a simple rectangle using the elegant dragonfly stitch. This beginner-friendly, size-inclusive pattern (XS–7XL) includes step-by-step instructions, photos, a stitch chart, and a video tutorial for a...
CLICK TO PIN ME FOR LATER!

Hi, I’m Aki! I love designing patterns and love teaching. I use lots of stitches and colors and try to simplify everything because all patterns become easy once simplified. I mostly create womens garments in all sizes. I hope you enjoy!