How to Write a Crochet Pattern: 8 Steps to Create your own Design
Last updated on September 4th, 2025
Hello hello!
Maybe you already modify designs to suit your style and maybe you create your own designs from scratch. Now you’re ready for the leap into crochet pattern writing. First of all, congratulations for following your dream. Do not be scared. I’m so glad you have found me, I will help you as much as I can on this new journey. You’re going to love it!
I have put together the process I use, along with some free downloadable templates to help you. I have also given you action steps to tell you exactly what to do every step of the way.

This post contains affiliate links, which means if you make a purchase from the links below, I will get a small percentage of the sales at no additional cost to you. Thank you for your continued support!
In my opinion, writing patterns is not just for designers. Sometimes we create a beautiful project and have our notes on scraps of paper, so if we ever want to crochet it again it will be almost impossible. If we write it down as we create it, we will save ourselves this frustration. You can share it with friends and family as well.
There are no set rules or courses with certification for crochet pattern writing. But there are some industry standards and guidelines we must follow so that anybody can crochet our designs and we can reach a global audience.
We want as many people as possible to be able to read our pattern and finish crocheting our project so that they can tell more people about our beautiful crochet designs. So be as creative as you want while designing, but follow good writing practices to appeal to a universal audience.
Pros and Cons of being a crochet designer
Advantages:
- You will get paid to do what you love.
- You can do it at your own time and pace. You are your own boss.
- You can recreate your own projects anytime.
- If you sell only digital patterns, you will have no material cost.
- The patterns sell again and again, even as you sleep and even years after creating them. You will have passive income even if you take a break from designing.
- You will not have any orders to make and pack or any shipping to do.
- There will be no returns (this is the policy of almost all designers as the patterns are usually digital downloads).
- You will not run out of time or stock.
Disadvantages:
- Writing a GOOD pattern is lots of work. You want people to be able to crochet from your patterns so that they want to buy more from you and spread the word. You will have to be thorough while writing, then tech edit and also test before publishing.
- Customer service.
You will have to help people with downloading as well as any trouble they have while crocheting your pattern. I would not consider this a con exclusive to pattern selling as you will have to provide customer service when you sell a product, and even have to handle returns in some cases.
- Marketing your own pattern is a must for a beginner.
Once you grow as a designer, things get much easier. In todays world this is not very hard, but it does take time.
I would like to add, for someone who loves crochet and design, it’s all totally worth it.
- A few skills will also be needed like taking great photos of the finished project.
- Like any business, growth takes dedication and time.
Remember the reason why you have decided to be a crochet designer and everything becomes easy!
8 steps: How to write a crochet pattern to sell.
Remember, these are not set in stone and you can always modify this process to your liking once you start gaining experience!
Step 1: Study
In the past, you may have crochet projects by other designers. Now is the time to bring out your pattern collection and to carefully study them. Study all the main sections a pattern is divided into. These are the same for most patterns. Study the language and pay attention to the layout and design. See what you like and dislike.
Here is one of my favorite crochet magazines if you want to have a look.
Look at multiple patterns just for an idea of what a professional well written pattern looks like. The goal is to study and learn, no to copy any part.
If you want to go a step further, choose a simple stitch that you have crocheted before like just single crochet. Now try and write it out. Match your instructions with the ones available online. Try the same for a shell stitch. Try it for a granny square.
Remember to match your instructions with the ones given online and learn how to write.
Action steps:
Study 1 pattern completely in detail.
Write out 1 simple stitch pattern.
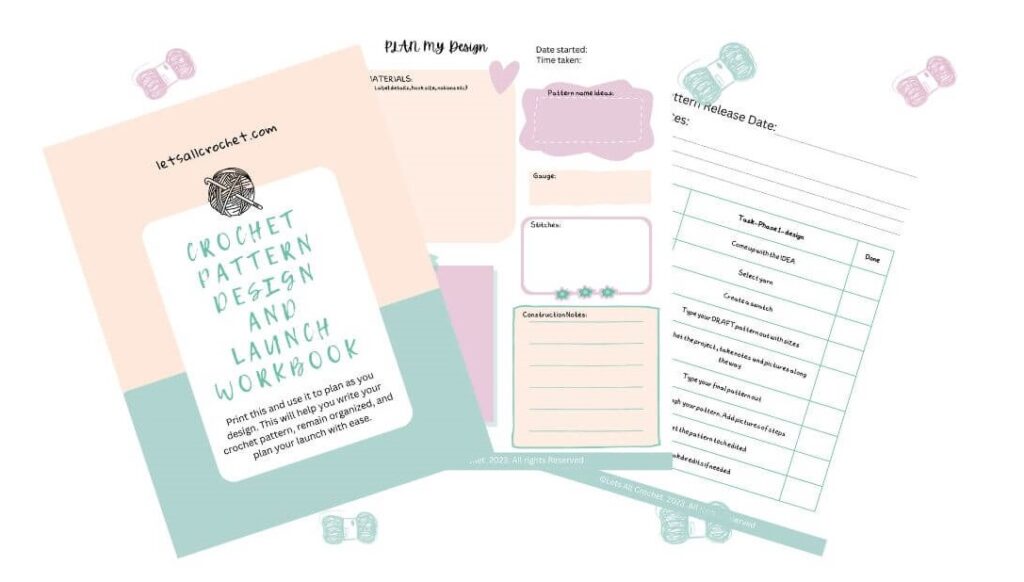
Download the Crochet Designer Checklist and Planner (below)
Step 2: Inspiration/ idea
You may be an intermediate or advanced crocheter, but the best advice I can give you for writing your first pattern is to start easy. If you take away only one thing from this article, let it be this- make your first pattern easy and simple. Give yourself this gift. There should be no shaping or sizing involved, in my opinion. Do not work in rounds.
You want to focus on finishing, the goal is to gain the confidence to write more patterns. If you don’t finish, you may feel discouraged and may even want to quit. We definitely do not want this! To avoid this, start easy and follow the process, and you will soon realize pattern writing is fun!
Pick a project:
I would suggest pick something like a wash cloth, a placemat, a scarf, an easy cowl or a baby blanket. Fingerless mitts are also acceptable. The goal is to pick something easy (yes I am repeating myself at this point I know LOL).
Pick a stitch:
Pick a simple stitch that you have made before. It can be a simple repeat but I would not advice picking some elaborate fillet pattern with a 20 row repeat that will lead to tears (it has been known to happen).
Here is my favorite stitch dictionary for help with picking a stitch.
Pick your yarn and hook:
Choose a yarn that you have already used before and enjoy crocheting with. A new yarn can cause trouble while crocheting and we are trying to keep all the troubles at a minimum and fun at the maximum hereJ
Check out the craft yarn council for details about yarn weight and how to pick one for your project. Pick a suitable hook.
Draw a sketch:
Now you can draw a sketch of what you want your finished project to look like.
If you have seen my sketches, you may have noticed, I am no artist. You don’t need to be good at drawing to be good at designing (although if you are, go you!) The sketch should just be able to give you an idea of what your finished product looks like in your mind.
This is my sketch for 2 tops. If you are a decent artist (unlike me) or just enjoy art, you can even color your sketch, to try and picture the finished product exactly.
You will need a notebook and a pencil, or you can use your ipad if you already have one. I would suggest keep all your sketches digitally or in the same book/ journal. Use a pencil so it is easy to erase. A pen will lead to lots of scratching (I do use a pen :P).
Action steps:
Pick a project, a stitch, yarn and hook suitable for your project.
Sketch your project out.

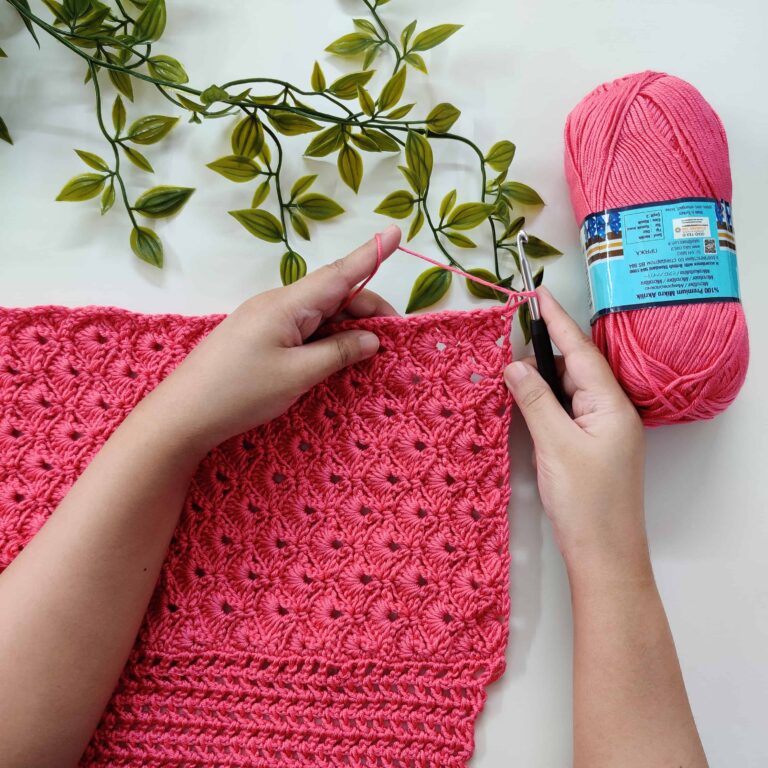
Step 3: Create a swatch and note gauge
Create a swatch to make sure you like the way your stitch pattern, the color/s and the way the fabric looks. You will also write the gauge using the swatch.
Most of us are scared of gauge when we first start, and I can assure you it is simpler than what we think it is. It is actually the most important thing for a designer. I have created this article about gauge and swatches if you would like to read more about it.
Now is the time to experiment and play with stitches and yarns and create a fabric of your choice. Let your creativity flow. Use different weights, different colors and different hook sizes till you are satisfied.
It is a good habit to write gauge from the beginning of our designer journey and this practice will improve our pattern writing skills over time. Never write a pattern without gauge, even if gauge is not important for that pattern.
Now is the time to decide the size/s you want your project to be. Use the gauge calculator if you hate math, to calculate sizes easily and without any frustration. Click to read more about gauge calculator.
Action steps:
1. Create a swatch
2. Write down your gauge.

Step 4: Crochet the project and make a draft pattern.
This is the part we all enjoy the most. We will crochet our project but not so fast…first bring out your workbook (download above) or just use a notebook and record all your initial details. Write down the yarn label details. Write the hook you have chosen, the size and so on.
Now start crocheting and as you crochet write everything down. I mean EVERY. SINGLE. THING. For our first few patterns this is crucial. This practice will save you hours of frustration. These notes will help make the final pattern much, much more easier to write.
Start taking notes from the foundation chain till the finishing of your project. It is a bit tiring to stop and write what you are doing but it is worth it when you start writing the final version of your pattern, as you will see.
Along with the notes start taking pictures also. Some of these you will use for marketing and some will explain the stitches/ construction. Take many pictures as you want, you can always delete them later.
(you can refer to this article on how to take good photos).
Action steps:
Download your notes template.
Write down initial details before starting.
Start crocheting your project and take detailed notes.
Take pictures of any step you think necessary.

Step 5: Type your pattern out
My advice is to always use a Checklist and planner write out your final pattern so that you don’t miss any sections. I say this because when I first started writing I actually forgot to mention hook size in one pattern. Because we have to keep track of so many little details, a checklist makes the process hassle free. Keep customizing your template as you grow as a designer.
I have a checklist that you can download to help you while writing.
Get your crochet pattern writing template that you can customise on canva.
Always remember, we want our patterns to be well written because we want everyone who buys the pattern to finish making it.
- Shoppers will also show off their finished project proudly, become your raving fans, and tell their friends about the designer (you) and this will result in more sales for you.
- Shoppers leaving positive reviews on Etsy and similar platforms. Positive reviews gives Etsy a positive signal, and it will show the pattern to more shoppers, it will rank higher in search. The shoppers will feel confident in their purchase if they see a host of positive reviews, this leads to more sales.
- Shoppers will share their projects on Ravelry increasing your pattern popularity and sales.
A pattern that is not well written will lead to unhappy customers who are unable to finish crocheting and will not want to purchase again from you and may even tell their friends to do the same. They may even decide that they don’t want to crochet and look for a new hobby L

A well written pattern will include the following:
- The cover page consists of the name and a great picture of the finished project. Write your company name, add your logo. Also mention your name, as the designer.
- Mention the skills needed, the sizes, the material needed in detail. Mention gauge. You have already written all of this before crocheting your project.
- Mention abbreviations and special stitches. Mention notes on construction and other information.
- Do NOT make up abbreviations (unless absolutely needed, for complicated patterns). Stick to the industry standards, use the CYC website for the sizes and abbreviations.
- Next write the actual knitty gritty (yes knitty lol) of the pattern. Use your row wise notes for this process. Do not write in story telling form or give elaborate instructions. A well written pattern is clear, concise and easy to understand.
- After the main instructions add a finishing section explaining how to sew any parts of the project together and how to add pompoms and so on.
- You may add charts and schematics if you want. They make your pattern look more professional and reach a larger audience.
- Include all the pictures you have taken for any steps.
- Add a copyright and permissions/ terms and conditions of use. Keep them short and easy to understand.
- Add your email and socials and the way the crocheter can reach you, if they need your help or if they want to purchase from you in the future.
Action steps:
Download the Crochet Pattern Design and Launch Workbook if you have not yet!
Write your final version.
Add your pictures.
Add a way for the customers to reach you.
Hey guys, I just want to add, I am creating the “crochet pattern writing school” currently. In this course, I will hold your hand every step of the way and help you write your first pattern, without any of the overwhelm and frustration. Join the waiting list, and get the special discount. I want you to write your crochet pattern. It deserves to be out there!!
Step 6: Read, tech edit and test
As a beginner the pattern is bound to have errors. Even an experienced designer makes errors often. After finishing, read over your pattern once and see if there is anything missing. Scan through materials and instructions and add any pictures you have taken before. Designers add pictures to the last page sometimes, so that if the crocheter wants to print it out, they can leave the pictures out.
Next send your pattern to a tech editor to be checked and edited. Add post link in future They check for mathematical and grammatical errors and inconsistencies. They will tell you if there is an easier way to write instructions that aren’t clear. Now you are ready for testers.
First ask your family and friends or anyone you know who crochets if they would like to test your pattern out. Ask them if they see any errors or if anything isn’t clear.
Reach out on your social media asking if anyone would be willing to test. Someone will help, I am sure of this.
You want to make sure someone besides you can produce the same result as you, before you publish your pattern. Use the feedback you get to make changes, as you see fit.
Action steps:
Read through your pattern and try and correct your own errors.
Tech edit.
Ask a friend or two to help with testing.
Step 7: Take final pictures and create PDF
While your pattern is being tested you can take pictures of your final product. This will take some practice but over time it gets easy. Your pictures are very important as they are what makes a person decide whether they want to purchase from you or not. No matter how well your pattern is written, it is the pictures that will sell it. Save it as a PDF.
Action steps:
Take your final pictures, add to main pattern, make them social media ready.
Step 8: Publish and promote to sell
We have finally reached the step which we were all waiting for yay yay!
Now take some time to decide all the platforms you want to publish. Decide whether you want it to be a free or a paid pattern.
I would start with Etsy. It is an easy to use platform with its own audience so you don’t have to worry about marketing as much. Next I would publish to Ravelry. Other options are your own blog, Lovecrafts.
Please use this link to sign up for your Etsy shop to get free listings.
Now promote your design on Instagram, Facebook, Pinterest, Twitter, Tik Tok and any social media that you have. Ask your friends to help promote. Ask your testers to post their pictures as well.
Lastly, be ready for customer service. Always be polite to your customers. Be patient as what may seem clear to you, isn’t always clear to others.
Action steps:
Publish your pattern to Etsy and Ravelry.
Top DO NOTS:
- Do not pick a complicated design.
- Do not make up abbreviations.
- Do not forget to mention gauge.
My PRO TIPS:
- Download these FREE template and checklist to help your designer journey.
- Take a deep breath and remind yourself all the big designers started with their first pattern. Do not compare yourself to anyone.
- Be patient with yourself. Be kind to yourself. Creativity cannot be forced. Inspire yourself instead.
- Do not get caught on perfection. Perfection is the enemy of progress (believe me I know).
- Focus on finishing each step before researching any advanced step.
- Mistakes and frogging are part of the design process. Do not worry if a design doesn’t work out, just jump to the next, onward and upward!
- Do not stop crocheting projects from other designers. There is always something left to learn. This process will help you improve your pattern writing skills. It will also inspire you. It will help you overcome designing blocks. It will give you a win when you finish a project, that will boost you when designing is not going as planned.
- Last and not the least.. KEEP ON GOING.
FINALLY
I want to leave you with a thought. If you want to save the time and frustration on researching and creating a process that works for every pattern, book a call with me below, and let me help you save time and avoid the mistakes I made!

Pin this post for future reference.
I would love to see what designs you create. Please tag me on Instagram/ Facebook with your creations. Subscribe to my newsletter for new designs and tutorials by me and for new articles for designers.
Thank you so much for reading,
Aki
CLICK TO PIN ME FOR LATER!

Hi, I’m Aki! I love designing patterns and love teaching. I use lots of stitches and colors and try to simplify everything because all patterns become easy once simplified. I mostly create womens garments in all sizes. I hope you enjoy!
🧶 Turn Your Crochet Designing Ideas Into Profitable Patterns!
Get your FREE Crochet Pattern Design and Launch Workbook after you join my newsletter! Lets make money doing what we love!